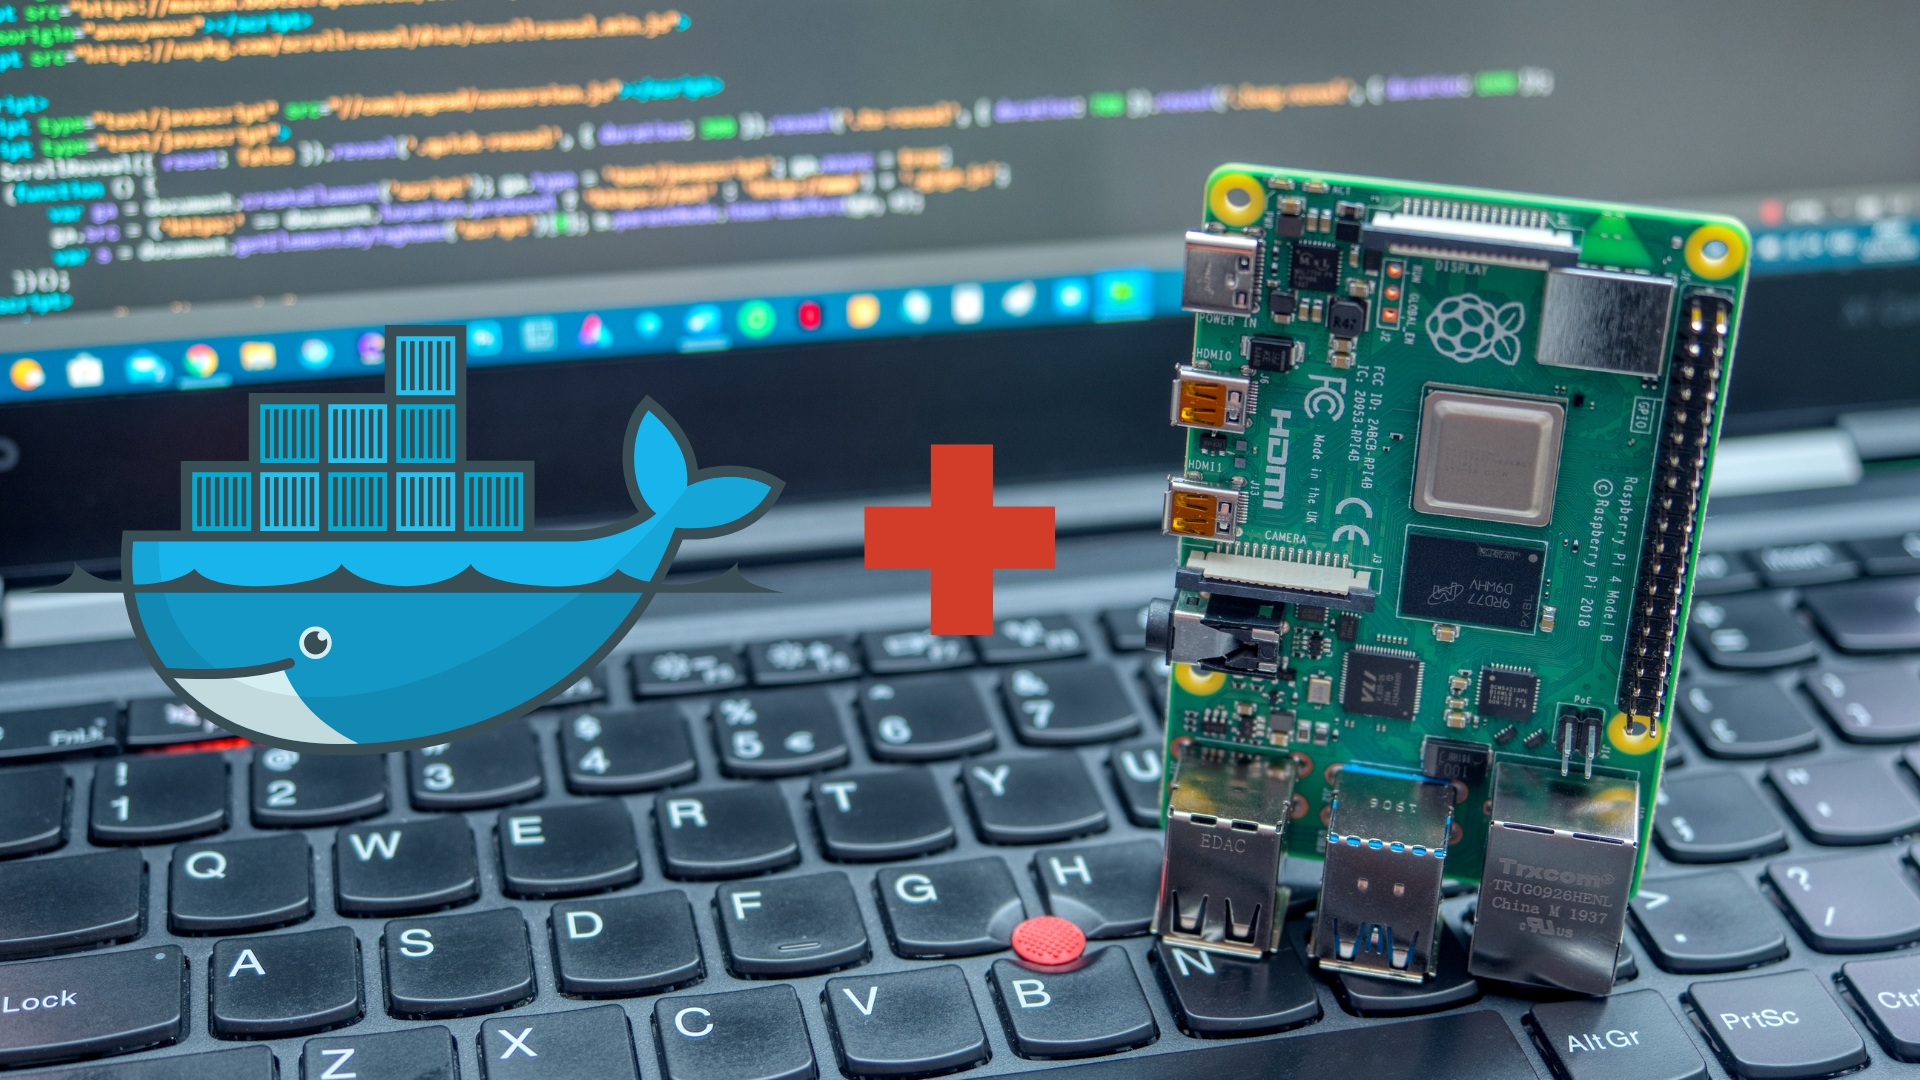
The Raspberry Pi, a versatile and affordable choice for development projects, becomes even more potent with Docker installed. This guide will walk you through setting up Docker on your Raspberry Pi, unleashing a world of possibilities with containerized applications. With the help of this guide, you’ll have your environment ready for small-scale deployment and development contexts or even personal raspberry pi projects.
What is Docker and Why Use It on Raspberry Pi?
Docker is a platform that allows you to automate the deployment of applications in lightweight, portable containers. These containers run independently and contain everything an application needs to work, easing the transfer process from one system environment to another. When paired with a Raspberry Pi, Docker becomes a powerful tool for managing applications efficiently.
Using Docker on Raspberry Pi can yield several benefits, such as:
- Lightweight Deployment: Docker containers are lightweight, which ensures optimal performance, a perfect match for Raspberry Pi’s limited resources.
- Portability: Containers can run on any system with Docker installed, making it easy to migrate projects from your Raspberry Pi to other environments.
- Isolation: Applications run independently in containers, preventing conflicts among software dependencies.
- Scalability: Docker’s architecture allows applications to be easily scaled, which is ideal for some development and production contexts.
Initial Setup: Preparing Your Raspberry Pi
Before installing Docker, ensure your Raspberry Pi is appropriately set up with the following steps:
1. Get the Necessary Hardware
You’ll need the following hardware components:
- A Raspberry Pi (Raspberry Pi 3 Model B or later is recommended for better performance)
- A microSD card (minimum 8GB, Class 10 advised)
- Power supply (compatible with your Raspberry Pi model)
- Internet connection (Wi-Fi or Ethernet)
- A monitor, keyboard, and mouse for initial setup
2. Install Raspberry Pi OS
Using the Raspberry Pi OS is recommended for Docker installations. Download the Raspberry Pi Imager from the official Raspberry Pi website and flash the Raspberry Pi OS onto your microSD card.
3. Update Your System
Once the OS is installed and your Raspberry Pi is powered on, update the system packages using Terminal:
sudo apt update
sudo apt upgrade -y
These commands ensure your Raspberry Pi is using the latest available packages, which helps avoid potential compatibility issues in the future.
Installing Docker on Raspberry Pi
With your Raspberry Pi prepared, it’s time to install Docker. Follow these steps for a smooth installation:
1. Install Docker using the Official Convenience Script
Docker provides an easy-to-use installation script. Open your Terminal and run the following command to download and execute the installation script:
curl -fsSL https://get.docker.com -o get-docker.sh
sudo sh get-docker.sh
Once executed, this script installs Docker CE (Community Edition) on your Raspberry Pi. This process typically takes a few minutes.
2. Add Your User to the Docker Group
To avoid prefacing Docker commands with sudo, add your user to the Docker group:
sudo usermod -aG docker $USERLog out and back in to apply the changes, or use the below command:
newgrp docker3. Verify Docker Installation
To ensure Docker is installed correctly, run the following:
docker --versionThis command should return the Docker version number, confirming a successful installation.
Setting Up Your First Docker Container
After installing Docker, try deploying a simple container to practice. Here’s how you can run a Hello World container:
docker run hello-worldThis command downloads a test image and runs it in a container. The message “Hello from Docker!” indicates everything is working correctly.
Running Applications in Containers
To harness Docker’s power on your Raspberry Pi, try running more robust applications like Node-RED or Mosquitto MQTT Broker. For instance, to run Node-RED, use:
docker run -it -p 1880:1880 --name mynodered nodered/node-redThis command sets up Node-RED with a web-based flow editor, which can be accessed through your web browser at the address: http://YOUR_RASPBERRY_PI_IP:1880
Maintaining Docker on Raspberry Pi
Regular maintenance and updates are crucial for a secure and smoothly running Docker setup. Here are essential tips for maintaining Docker on Raspberry Pi:
1. Update Docker and System
Consistently update Docker and your Raspberry Pi OS to benefit from security patches and performance improvements. Use the following commands:
sudo apt update
sudo apt upgrade -y
sudo apt install docker-ce
2. Clean Up Unused Resources
Docker stores images, containers, and other resources that can occupy your disk space. Regularly clean up unused or dangling resources:
docker system pruneThis command removes all unused Docker data, freeing up space on your device.
3. Backup Important Data
Always back up your important data before making significant changes or updates to ensure data integrity and avoid loss.
Conclusion
Installing Docker on your Raspberry Pi breathes new life into this affordable single-board computer. The ability to run isolated applications within containers will open doors to expansive development and deployment opportunities, whether personal projects or small-scale services. The systematic approach here ensures you can efficiently manage your Docker environment, bolstered by regular updates and maintenance.
By stepping into the world of Docker with your Raspberry Pi, you’re expanding your device’s potential and honing invaluable skills in modern software deployment practices.


